Experiments in printing
I’ve just finished a short (10 week) course Improve you Photography with Chris Ould, at Central St. Martins. It split into two halves, the first concentraing on the theoretical side of things, basic modes of camera operation, composition, lighting, use of flash, etc, etc – all the usual expected subjects. At the end of each week, we’d have an assignment to do, one set on “form”, another on the subject of “motion”, another still on “lighting”. Finally was one examining people & their surroundings, for which I paid a visit to Columbia Road Flower Market. This assignment led into the second half of the course, working in the darkroom
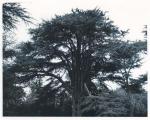
First off was developing of film from our previous assignment – scans from the results as in the gallary. After that the real focus was on printing, where I was amazed to see just how much of a difference you can make to a photo. Selective cropping, enhanced contrast and very light toning made a significant improvement to this shot of tree branches.
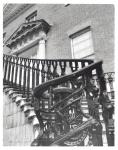
Dodging, which is the technique of obscuring part of the scene/paper during exposure under the enlarger, makes it possible to bring out detail in dark parts of the scene while still giving the rest its normal exposure time. In this picture, the railings in the original were practically pure black, but dodging allowed the full detail to be pulled out.
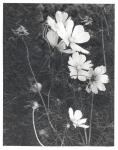
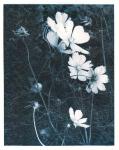
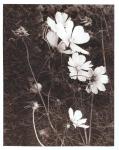
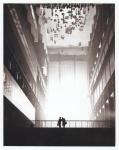
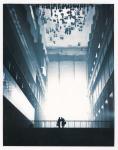
In toning, previously developed prints are soaked in water and then put throug a bath containing one of many possible colourings. For the course, we had access to a copper tone and brown, almost sepia like tone. Having tried the tones on a handful of different prints you can see which tones suit a particular type of scene best. For example, the flowers below are most effective in brown.
While this shot of the Weather Project, at the Tate Modern, works best in the blue tone, taking on an almost apocalyptic feel.
All in all, the course was a huge success, and I’d definitely recommend anyone with more than a passing interest in photography to give it a try.
